Laptops may differ in many ways, specifications, size, pricetag, nametag being some of them, but they all share a common problem after a few years of everyday use: NOISE
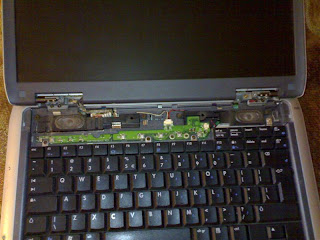
My guide is on how to dismantle your laptop and clean / service your stock Fan and Heatsink properly, showing the hole process on my old-enough-to-play-with Compaq Presario 2100.
If you have a Compaq or HP laptop, download HP's instructions here.
The hole process takes about 1 hour of step-by-step reading and doing.


This dirt causes your noise problem. Start removing every bit of it

Wash this part of the unit with hot water so you clean the air outlets as good as possible, then let it dry or force it your own way
Clean as well as possible the Fan-Part of the unit
Clean at last! Try to clean the left-overs of the stock thermal paste on the heatsink
Clean the stock Thermal paste from your processor and apply carefully a fresh (and better) one

Your are done! Start closing up your laptop in the exact reverse order. When you place the top case, help the cables below the PCA to come to the top.

5/21/08
HOW TO: Clean your Laptop's Fan and Heatsink
5/20/08
HOW TO: Install ZALMAN ZM-MFC1 Fan-Speed Controller

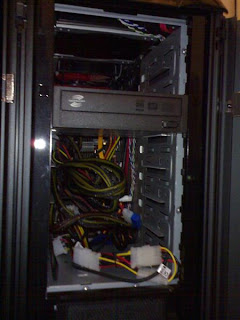
Having a desktop PC running 24 hours a day in the room you sleep in becomes a problem, especially if there are more than enough fans in your tower case.
Adding the ZALMAN ZM-MFC1 Fan-Speed controller was a wise and very customizable choice concerning the noise produced by all these fans.
The major pros of the ZM-MFC1 are the 2 switches which allow you to choose between OFF, 5v and 12v voltage, the nicely arranged 4 dimmers and the low price of the module. The only con is the leds than cannot be turned off.
It is a 1-DIN unit and is easily mounted on the tower case with 4 bolts screwed in the stock holes.
Installing the kit is very easy. Choose the fans you want to manage by the controller and plug -if needed- the extension cables supplied with the kit.

Manage the cables, connect them to the rear of the ZM-MFC1 and connect it to your PSU. Close everything up and play with your new toy.

HOW TO: Install ACCELERO S1 w/ Turbo Module on ATi HD3870

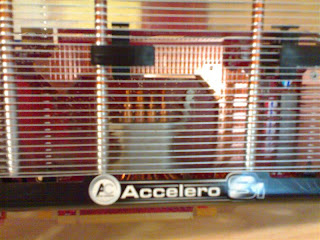
The Accelero S1 is the best value for money GPU Heatsink and gives you great result with the smallest effort.
As an add-on, Turbo Module helps the Accelero S1 Heatsink to improve even more the low temperatures it achieves.
Both products are from Arctic Cooling, and combined are a must-have solution.
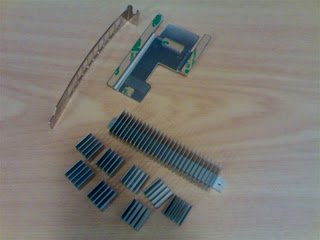
The Accelero S1 and Turbo module packages include:

The heat spreaders, the plate and the rear grill will not be used on the HD3870, because it already has a nice and effective heat-spreader unit


Installation
Remove the 4 screws and the backplate of the stock HD3870 Heatsink, unplug the fan wire and detatch the module from the card

Remove the stock thermal paste carefully from the ATi chip, using cotton ear-buds and a clean sunglass cloth
Attach the Accelero S1 carefully so that it is correctly alligned with the holes and the hole card. Start screwing the stock (or the kit's) screws one by one, turn by turn, so that the pressure is applied uniformly, until all are screwed tightly.
Attatch the clips carefully and make sure that you hear the "click".
Attach the Turbo Module and connect it to your preferred power supply (in my case the ZALMAN ZM-MFC1)

Your new heatsink is ready. Turn on your PC and smile at your new temperatures!
In my case the temperature drop was 45 degrees, the exact half of the 90 degrees my card reached under stress tests!
Here is an example playing Crysis, before (68 degrees) and after (38 degrees)
The red line is the GPU temperature


